Let’s face it, a damaged roof is a major headache. It can put a damper on your mood (and potentially your living room ceiling) if left unaddressed. But before you call in the professionals and break the bank, consider tackling a smaller repair yourself. Here’s what you need to know about repairs for damaged roofs, DIY repairs, and when it’s time to hire reinforcements for roof restoration near me.
Why Choose DIY Roof Repair?
For minor roof woes, a little DIY magic can save you time and money. Here are some reasons why you might consider tackling the project yourself:
Cost-effective: Patching a small leak or replacing a few shingles is significantly cheaper than a full roof replacement.
Sense of accomplishment: Fixing something yourself is empowering! There’s a great feeling of satisfaction in knowing you tackled the problem head-on.
Quick fixes: Depending on the damage, a simple DIY repair can be done in a few hours, saving you the wait for professional help.
Types of Roof Damage Suitable for DIY Repair
Now, it’s important to be realistic. Not all roof problems are DIY-friendly. Here are some common issues you can likely tackle yourself:
Missing or damaged shingles: These are relatively straightforward to replace.
Small leaks: If you can identify the source of the leak and it’s a small area, you might be able to patch it yourself.
Flashing repair: Flashing (the material that seals around vents and chimneys) can sometimes become loose or damaged. Fixing these areas can be a manageable DIY task.
Essential Tips before You Begin
Safety is paramount when working on your roof. Here are some non-negotiable:
Work with a buddy: Never attempt roof repairs alone. Have a helper on the ground to hold the ladder steady and assist you if needed.
Dress for success: Wear sturdy shoes with good grip, long pants, and work gloves.
Harness up: If you’re not comfortable walking on the roof, consider using a safety harness anchored to a secure point.
Weather check: Don’t attempt repairs in wet or windy conditions.
Steps to Roof Repair Success
Now that you’re prepped and prepared, let’s get down to the nitty-gritty:
Pinpoint the Problem: First things first, identify the source of the damage. Look for missing shingles, cracks, or bulges.
Gather You’re Supplies: You’ll need a variety of tools depending on the repair, but generally, you’ll want a hammer, pry bar, utility knife, shingle remover, and roofing nails. Don’t forget safety gear like a sturdy ladder, work gloves, and safety glasses.
Prepare the Work Area: Clear the work area around the base of the roof. Lay down a tarp to catch any debris.
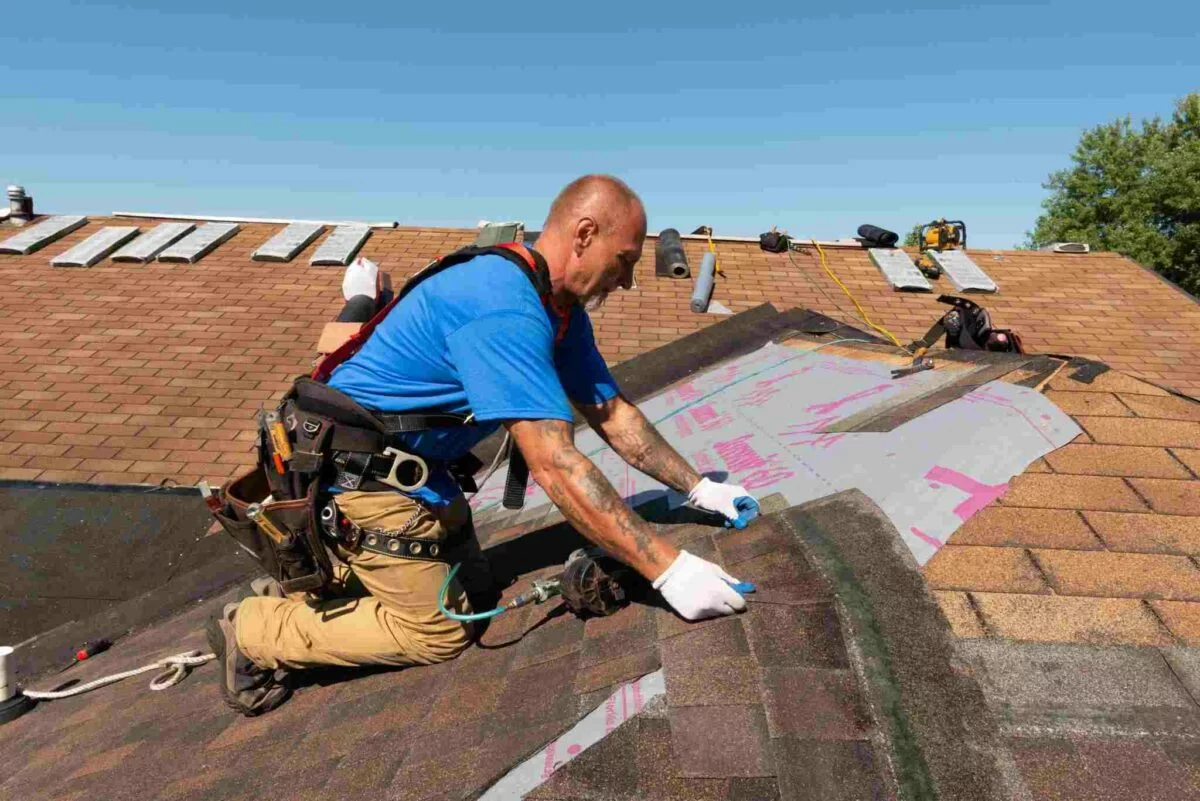
Shingle Replacement: If you’re replacing shingles, use a pry bar to carefully remove the damaged ones. Slide the new shingle under the existing shingles above it and secure it with nails. Overlap the shingles according to the manufacturer’s instructions.
Leak Repair: For small leaks, identify the source and use roof sealant to patch the hole. Ensure the area is clean and dry before applying the sealant.
Flashing Repair: If the flashing is loose, use a pry bar to carefully lift it and apply roofing cement underneath. Press the flashing back down firmly and secure it with nails.
When to Call in the Professionals
While DIY repairs can be a good option for minor problems, there are situations where calling in a professional roof restoration company near you is the smarter choice:
Extensive Damage: If the damage is widespread or involves large areas of missing shingles, warped roof decking, or structural issues, it’s best to leave it to the pros.
Safety Concerns: If you’re not comfortable working at heights or feel unsure about tackling the repair, err on the side of caution and call a professional.
Roof Material: Certain roofing materials, like metal or slate, require specialized skills and tools to repair safely and effectively.
Conclusion
With a little know-how and the right precautions, you can tackle some basic roof repairs yourself. However, don’t be afraid to call in the experts for bigger jobs. After all, a properly functioning roof is essential for keeping your home safe and dry.
FAQ
What tools do I need for roof repair?
The tools you’ll need depend on the specific repair, but generally, you’ll want a hammer, pry bar, utility knife, shingle remover, roofing nails, work gloves, safety glasses, and a sturdy ladder.
What type of roofing nails should I use?
Use galvanized roofing nails that are the appropriate size for your shingles.
How do I dispose of old shingles?
Don’t throw shingles in the trash! Check with your local waste disposal company for proper disposal procedures. They might have designated drop-off locations for construction debris.
What if my roof leak is coming from the chimney or vent? These areas often require specialized flashing techniques for proper sealing. If you’re not comfortable working with flashing, it’s best to call a professional roof restoration company near you.


